Avoid BSOD While Installing Windows XP Via USB
You are here because you probably got the famous BSOD while installing Windows XP using a USB flash drive. I’ll show two methods you can use to be able to fully install Windows XP via USB specially if you created the bootable USB using WinToFlash.
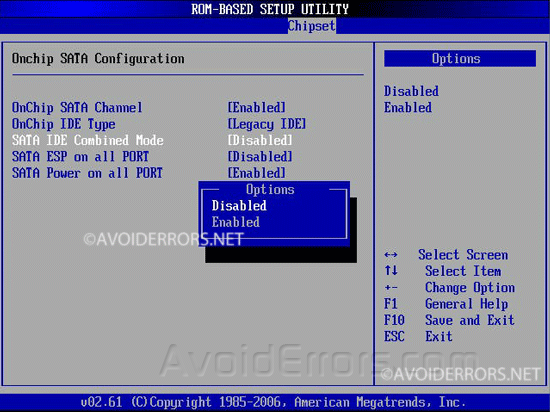
1. Log into the BIOS and Enable SATA Combined Mode. This feature is not available on older computers. On older computers just enable Legacy IDE.
2. Re-install Windows XP from the USB.
3. If you still get the Blue Screen download then we would need to modify the ntdetect.com from the USB drive.
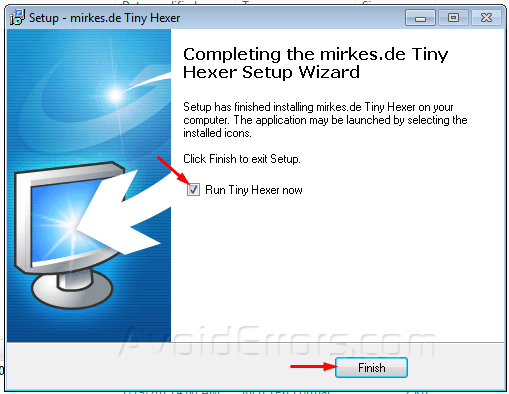
4. To do this you would need to download, install and run TinyHexer.
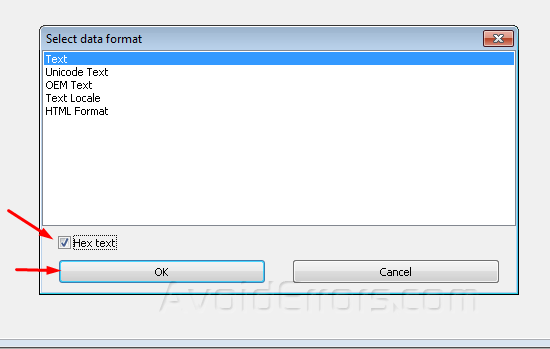
5. Copy the entire code from here all the way to the last number and paste it into TinyHexer. Make sure to check mark Hex text on the bottom and click OK button.
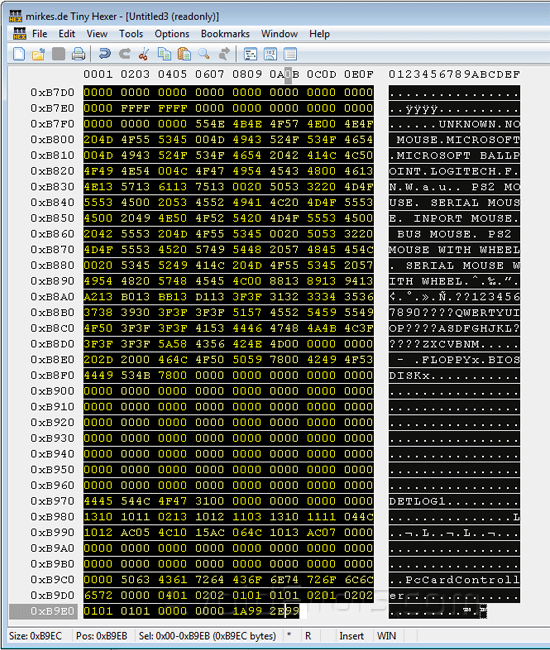
6. It should look like this:
7. Now click File -> Save as…

8. Make sure to select the Desktop and name the file “ntdetect.com“.

9. Once created it should look like this:
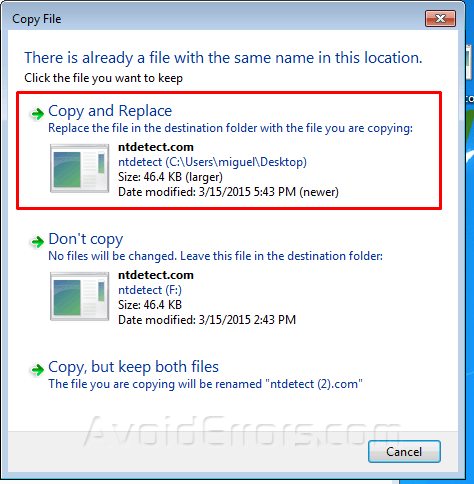
10. Copy and paste the newly created “ntdetect.com” into the bootable Windows XP USB drive, replacing the old ntdetect.com with the new one.
You should now be able to install Windows XP with that USB.


