Create a Bootable ESXi USB Flash Drive Installer – rufus
For servers without disc drive it’s best to install Hypervisor ESXI using a USB installation flash drive. This article explains the steps to create a bootable ESXi USB Flash Drive in minutes, so you can then install ESXi onto this same flash drive.
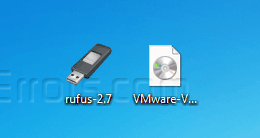
1. Download Rufus
2. Download ESXi ISO Image
3. Plug the USB flash drive to the computer
4. Run Rufus
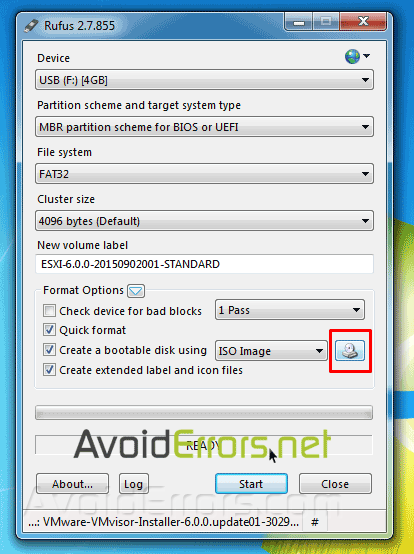
5. Select your USB Device
6. Select MBR partition scheme for BIOS or UEFI computers
6. Browse to select the Hypervisor ESXI ISO file, by clicking the little disk icon and click on Start button.
Note: By selecting the ESXI ISO file rufus app will auto populate the volume label and will auto select ISO Image from the drop down menu.
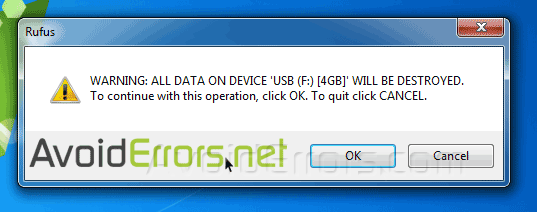
7. A warning will pop up letting you know that it will delete all info on the USB, to be replaced with the ESXI files. Click OK when ready.
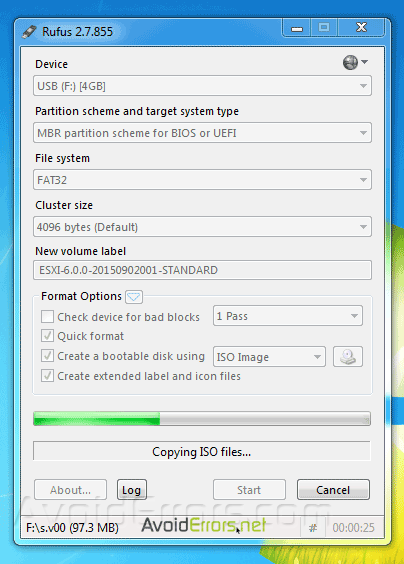
8. Rufus will create a bootable ESXi Installer USB Flash Drive. This process will take less than a minute to complete.
9. Once created click Close button.
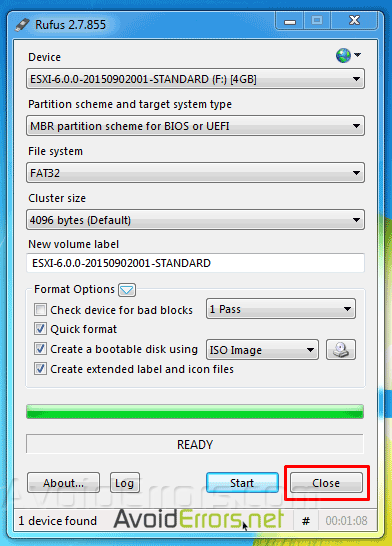
10. Now the USB flash drive is ready to be ejected and used as a bootable, installable drive.


