How to Create Windows 7 WinPE Bootable USB Drive
This tutorial describes on a step by step process how to create a bootable Windows 7 PE USB disk.
What is WinPE: It is used to prepare a computer for Windows installation, to copy disk images from a network file server, and to initiate Windows Setup. Windows PE is not designed to be the primary operating system on a computer.
Prerequisites:
To Create Windows 7 WinPE bootable USB drive, you need the following:
- A computer running Windows 7.
- A USB at least 2 Gigabytes (GB) or larger.
- Download and install 7 Zip.
Set up a Windows PE build environment
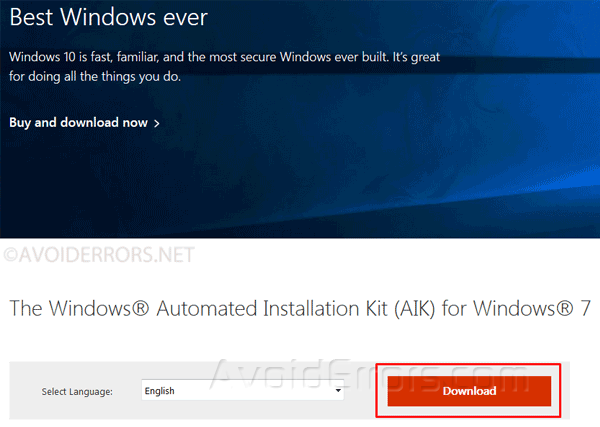
1. Download The Windows Automated Installation Kit (AIK) ISO for Windows 7.
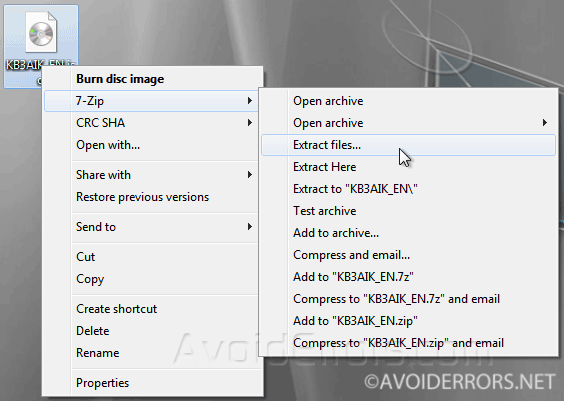
2. Create a folder on your desktop called “AIK“. Then right click the recently downloaded Windows Installation Kit ISO and extract it using 7 zip to the folder called AIK.

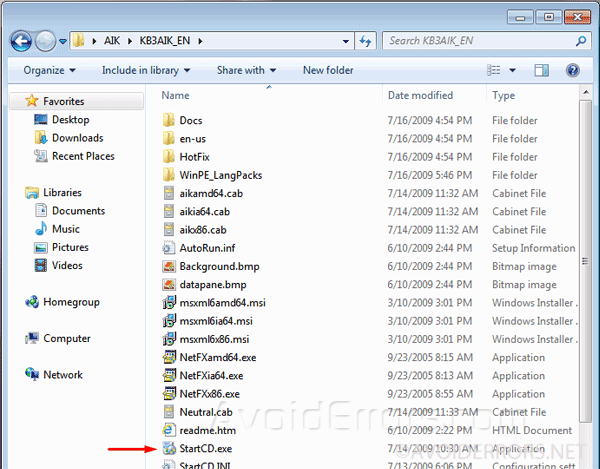
3. Once extracted execute StartCD.exe inside the AIK folder.
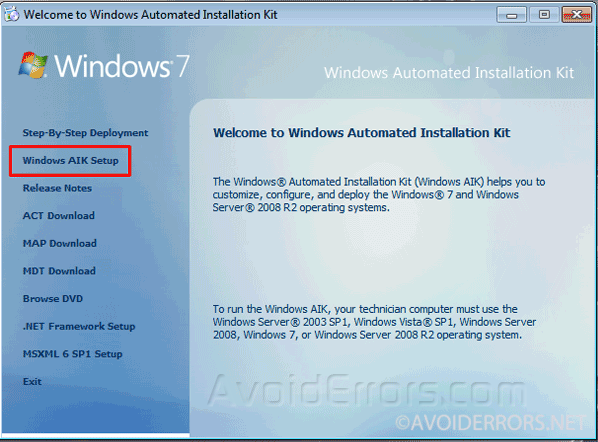
4. This will open the Automated Installation Kit. We need to install it by selecting Windows AIK Setup.
5. Leave the defaults settings and continue the installation by clicking on next. The installation process could take quite some time.
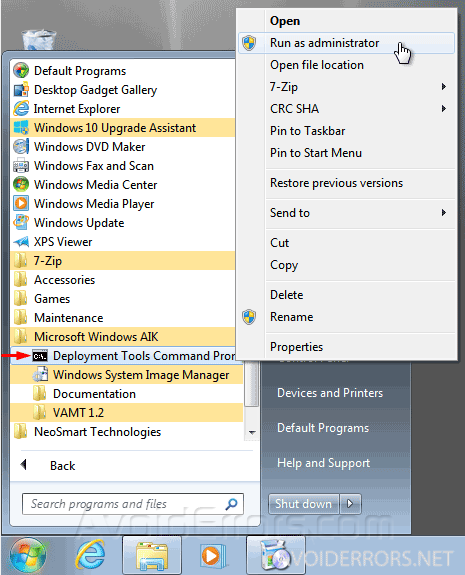
6. Now click on Start, All programs and look for Deployment Tools Command prompt located inside Microsoft Windows AIK folder. Right click it and run as administrator.
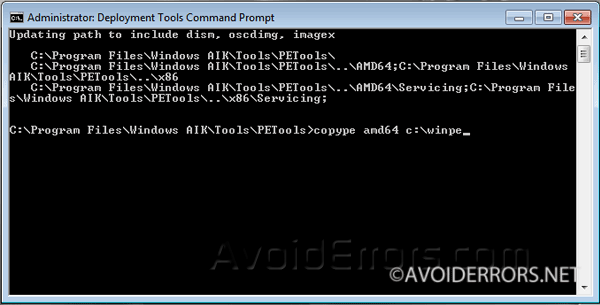
7. Here enter the following command for Windows 7 64:
copype amd64 c:\winpe
For Windows 7 32 enter the following command:
copype amdx86 c:\winpe
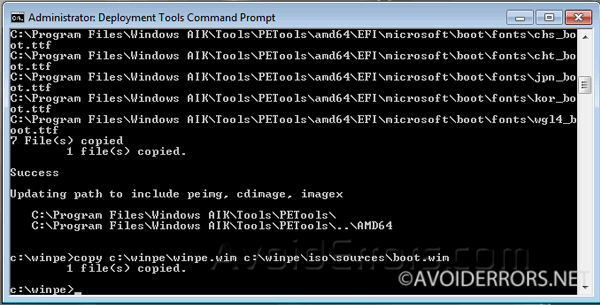
8. Now enter the following command:
copy c:\winpe\winpe.wim c:\winpe\iso\sources\boot.wim
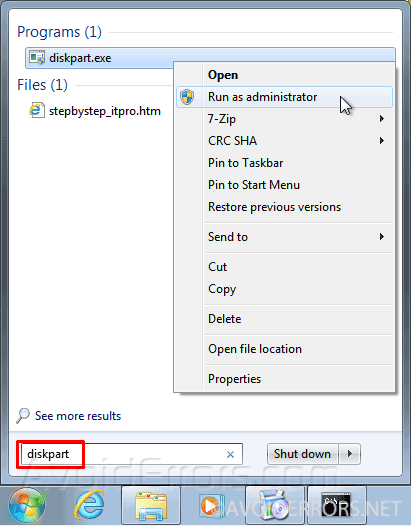
9. Now attach the USB to the computer. Then click on Start, search for “diskpart” and run it as administrator.
Prepare the USB
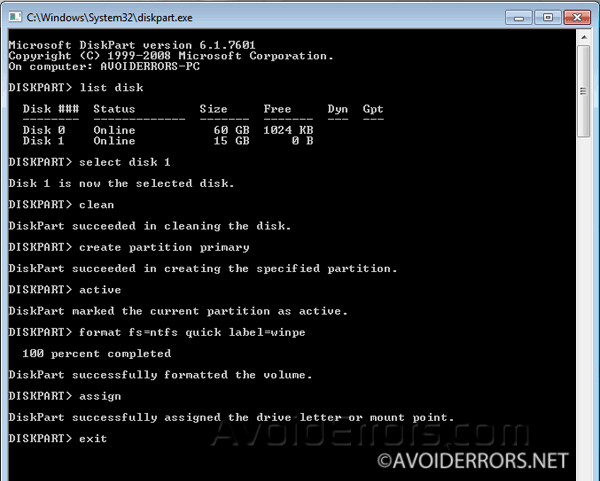
1. Type list disk and hit Enter.
2. Type select disk X (X being the USB drive.), and then hit Enter. In my case the USB disk is the 15 GB Disk 1, so the command would be “select disk 1”
3. Type clean and hit Enter.
4. Now type create partition primary and hit Enter.
5. Type active and hit Enter.
5. Now type format fs=ntfs quick label=winpe and hit Enter. This command will format the partition using NTFS.
6. Type assign and hit Enter. This will assign a drive letter to the partition.
7. Type assign and hit Enter.
8. exit and hit Enter.
Create Windows 7 WinPE Bootable USB Drive
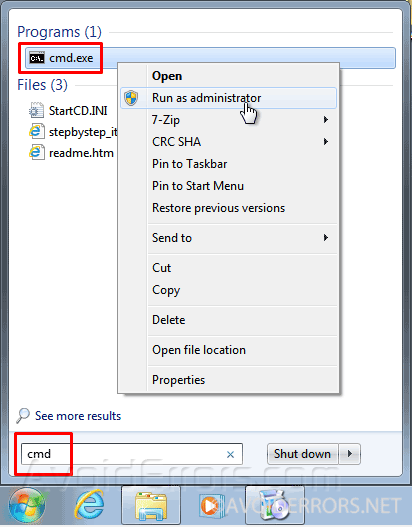
1. Open the command prompt as admin.
2. Go to Computer and verify the USB drive letter. In my case is letter G:

3. Now that we know the drive letter, enter the following command:
xcopy C:\winpe\iso\*.* G:\ /e
G: being the USB drive letter. It might be different in your case.
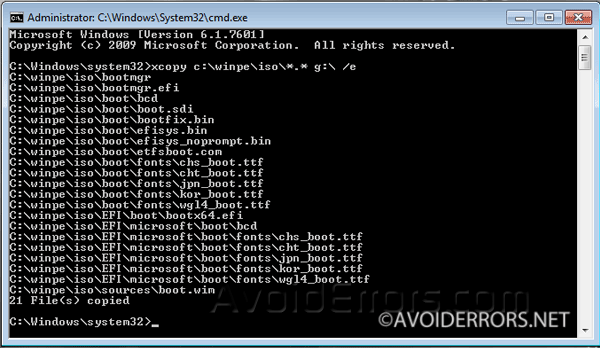
Done. We have created a Windows PE USB drive.
To Create an ISO file
1. Click on Start, All programs and look for Deployment Tools Command prompt located inside Microsoft Windows AIK folder. Right click it and run as administrator.
2. Now enter the following command:
oscdimg -n -bc:\winpe\etfsboot.com c:\winpe\iso c:\winpe.iso
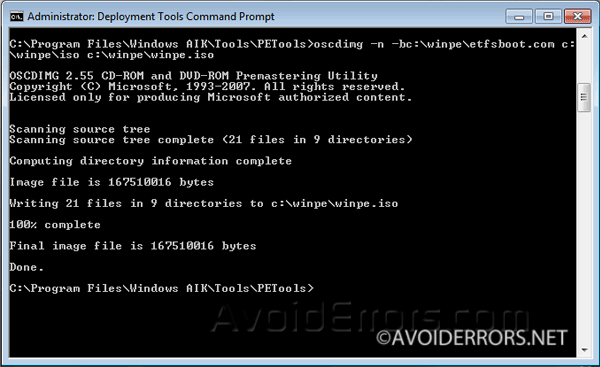
Once done you have fully created a WinPE ISO image file. it would be created inside the the Winpe folder. C:\winpe


Thanks very much
thanks, worked great