How to Create a Multi Windows Installation USB Flash Drive
The ability to have all your Windows installation media in one USB flash drive makes the entire process more efficient. While the method I am about to show you in this post is the one I mostly use, but it is not the only way to do it.
Video Tutorial:
Prerequisites:
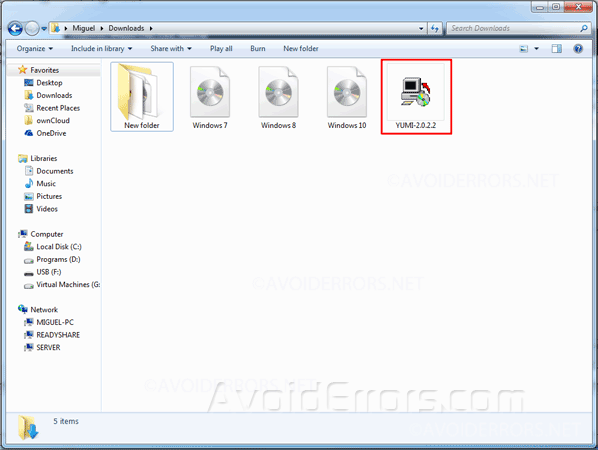
To get started making this multi Windows installation USB flash drive, we will need to download YUMI program.
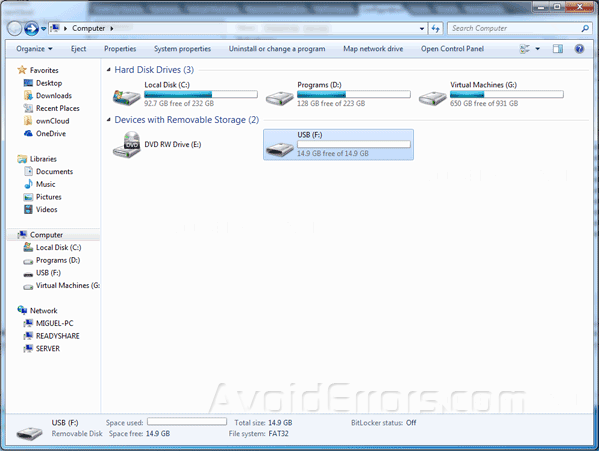
The USB flash drive must be large enough for the amount of Windows installation ISO’s. For this tutorial, I am using a 15GB USB drive and ill be adding 3 ISO’s which are Windows 7, Windows 8.1, and Windows 10.
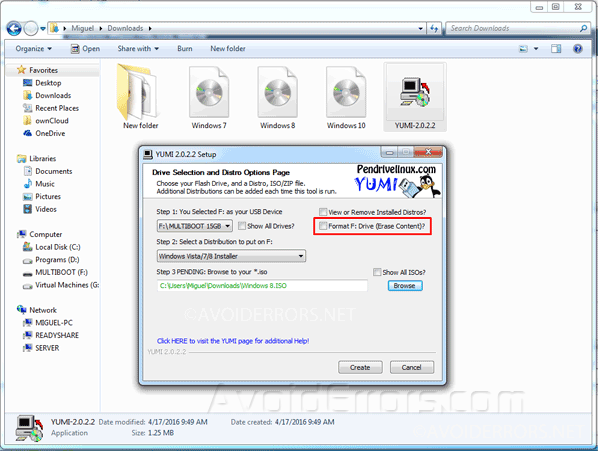
I have created a list of Windows ISO’s files that I want to put on this installation USB flash drive. Make sure to keep everything clean by creating a folder and place everything needed inside of it.
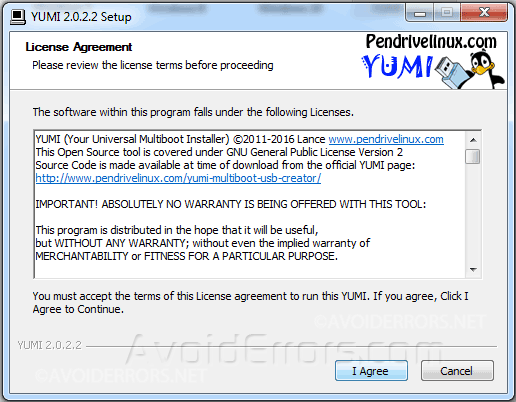
Assuming that you have plugged in your blank USB flash drive and have downloaded YUMI. Run YUMI and agree to the License Agreement.
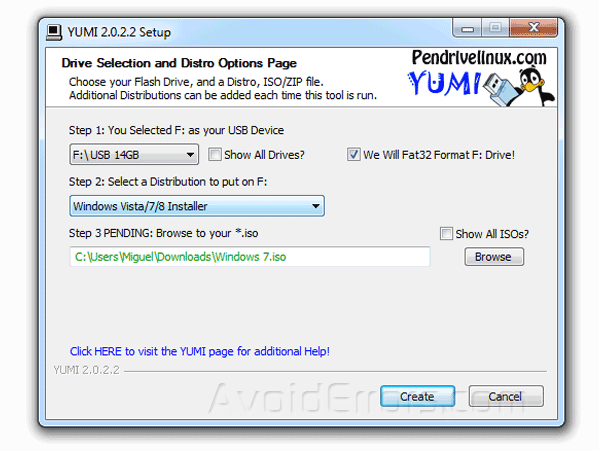
In the YUMI setup window Under…
Step 1: Select the USB from the drop down menu, and to the right Check mark Format X: drive (Erase Content)?. (X: being the USB drive letter)
Step 2: Select Windows Vista/7/8 Installer from the drop down menu. In case you’re adding Windows 10 to the USB then select Windows 10 Installer from the menu.
Step 3: Browse to select the Windows ISO file.
Click Create button to start adding the first OS to the USB.
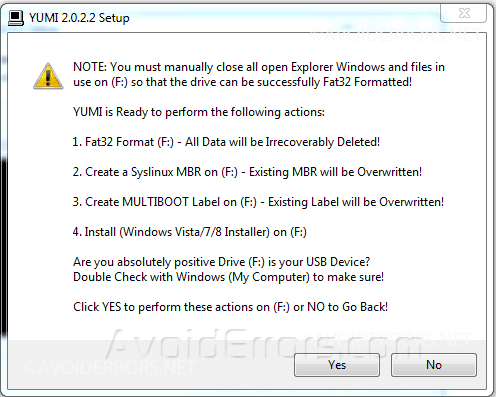
When prompted read the note carefully and click on Yes button to continue.
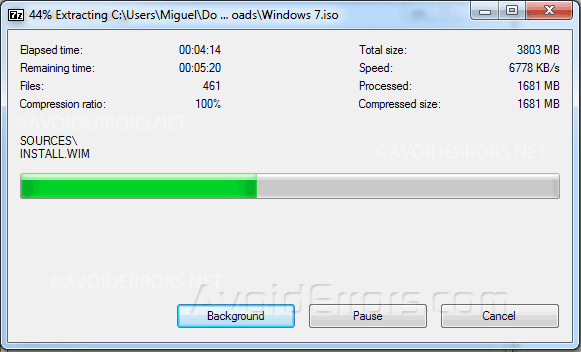
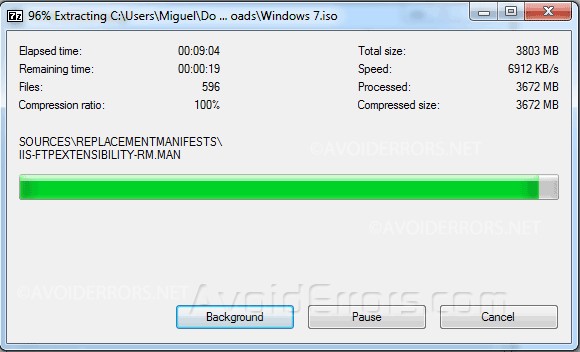
The progress bar will confirm the installation process.
Once the first Operating System has been added to the USB you’ll be prompted with the Complete Installation Window as shown:
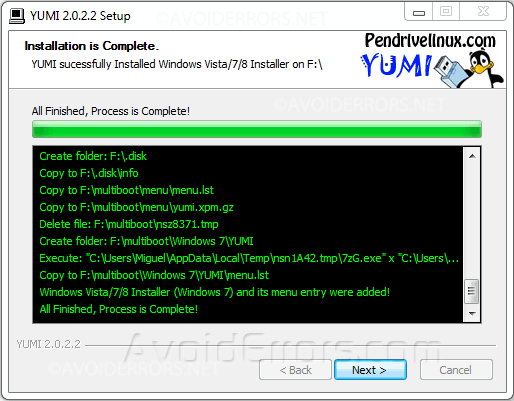
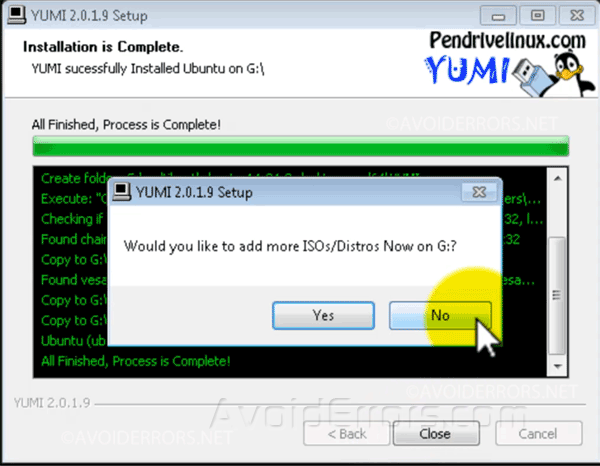
Here click on next, you’ll be asked if you would like to add more ISO’s
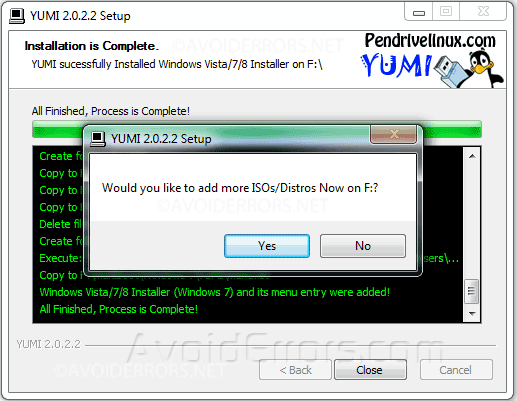
Click yes. The USB is now going to be called Multiboot, repeat the same process to add additional Windows ISO’s but this time DO NOT Check mark Format X: drive (Erase Content)?, this option it’s only for the first operating system you added to the USB.
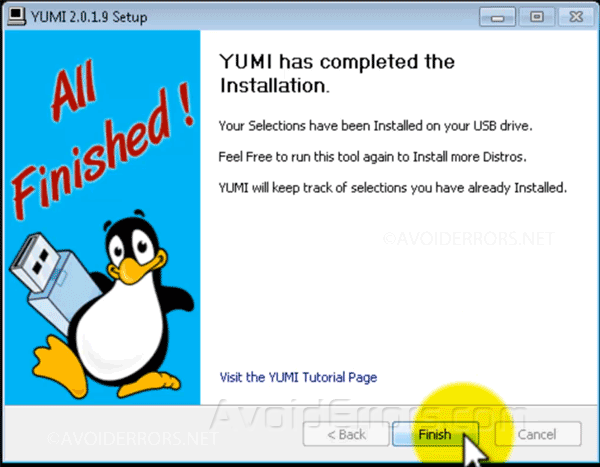
Once done adding ISO files, when asked if you would like to add more ISO’s select no an finish the wizard
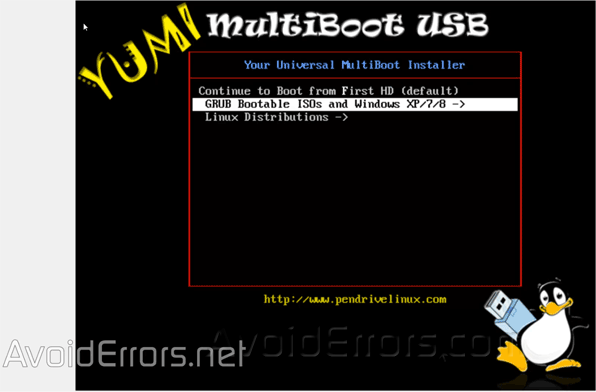
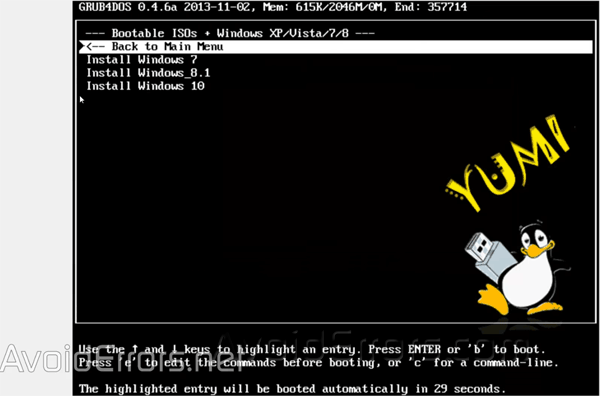
From now on when ever you boot from that USB you’ll have the option to install any of the Windows OS you added.