How To Install Buildbot on Ubuntu 16.04
Buildbot is a job scheduling system: it queues jobs, executes the jobs when the required resources are available, and reports the results.
Your Buildbot installation has one or more masters and a collection of workers. The masters monitor source-code repositories for changes, coordinate the activities of the workers and report results to users and developers. Workers run on a variety of operating systems.
This tutorial will guide you how to install “Buildbot” step by step.
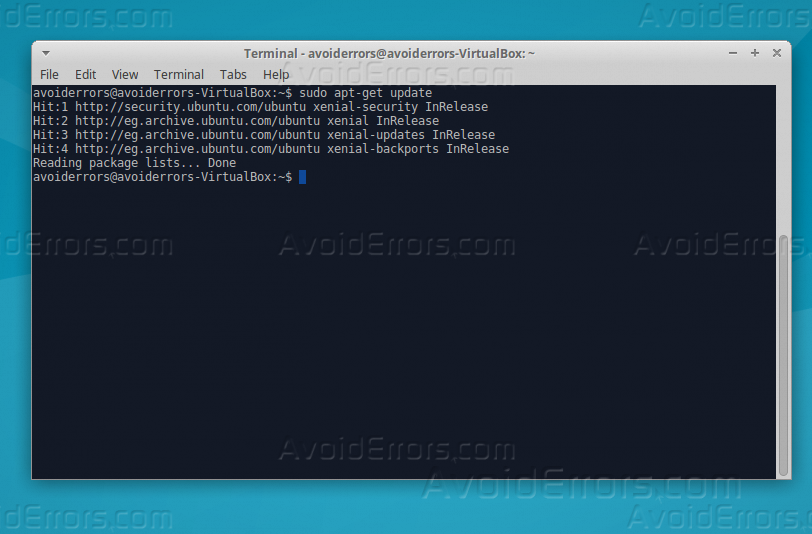
1. At the first we need to make sure that all our Ubuntu packages is updated, we can run the bellow command to update everything.
sudo apt-get update
2. Now we have to install “Python PIP”, install it by the below command.
sudo apt-get install python-pip

Type “Y” and press Enter to continue.
3. Once the installation is done, we have to install Buildbot bundle, we can perform this action by the below code.
sudo -H pip install ‘buildbot[bundle]’

4. Maybe you face a red line informing that your PIP needs an update to a new version.

5. Use this command to update it
sudo -H pip install --upgrade pip

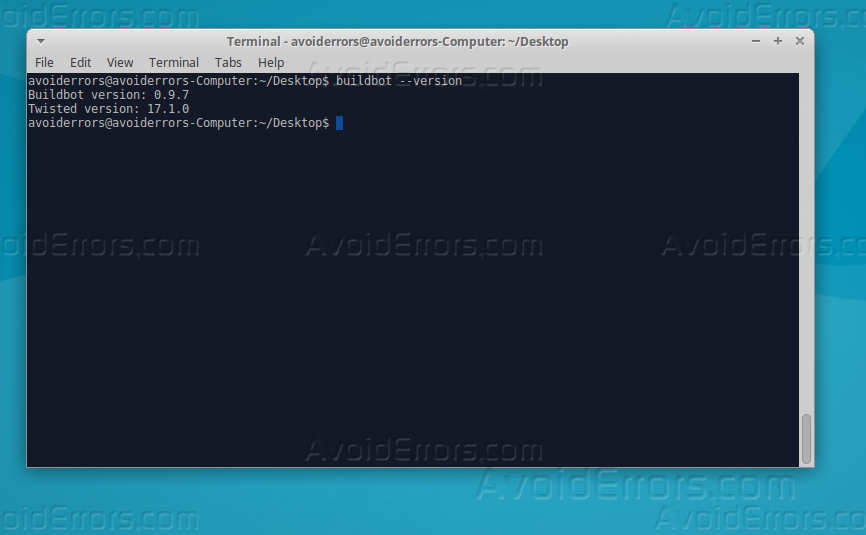
6. After the update is done, let’s check our current version of Build bot by the below command.
buildbot --version
7. Now we need to check our firewall to allow SSH traffic, let’s check first the status of Firewall.
sudo ufw status

8. Buildbot usually use port 8010, we need to allow this port on our firewall, we can do that through the below command.
sudo ufw allow 8010

9. We need to add group & user for Buildbot service, we can do that through the below 2 commands.
sudo addgroup --system buildbot

sudo adduser buildbot --system --ingroup buildbot --shell /bin/bash

10. Login to Buildbot through “Terminal” by the below command.
sudo --login --user buildbot

Configuring the Master
1. We have to use Buildbot command “Create-Master” followed by the value of the base directory, just like the below command.
buildbot create-master master

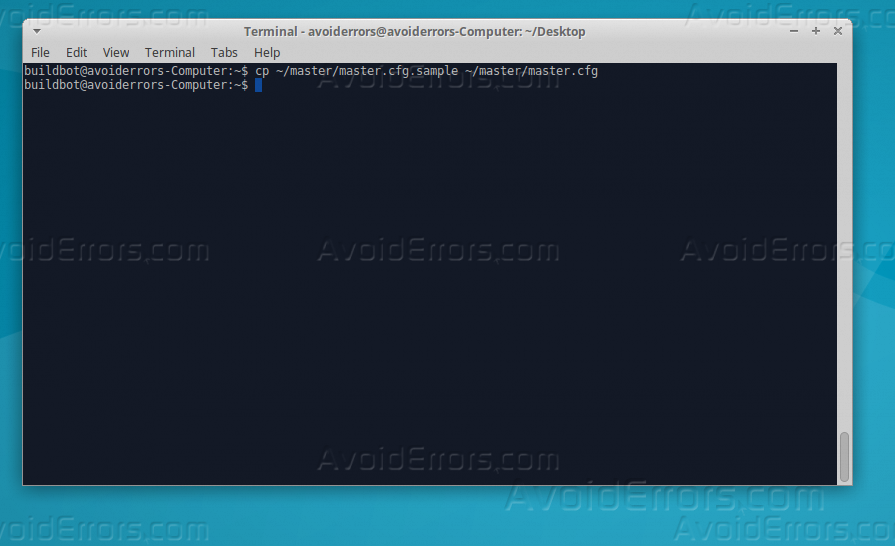
2. Now we need to copy “master.cfg.sample” to “master.cfg” and leave the original in place for reference, by using the below command.
cp ~/master/master.cfg.sample ~/master/master.cfg
3. Now let’s edit the file so we can reach the web interface from our local machine, by the below command.
nano ~/master/master.cfg

4. To gain access to Buildbot through the web browser we need to change “BuildbotURL” to your current IP address or the domain name of your server, locate “BuildbotURL” on the nano editor and replace it with your IP address or domain name.

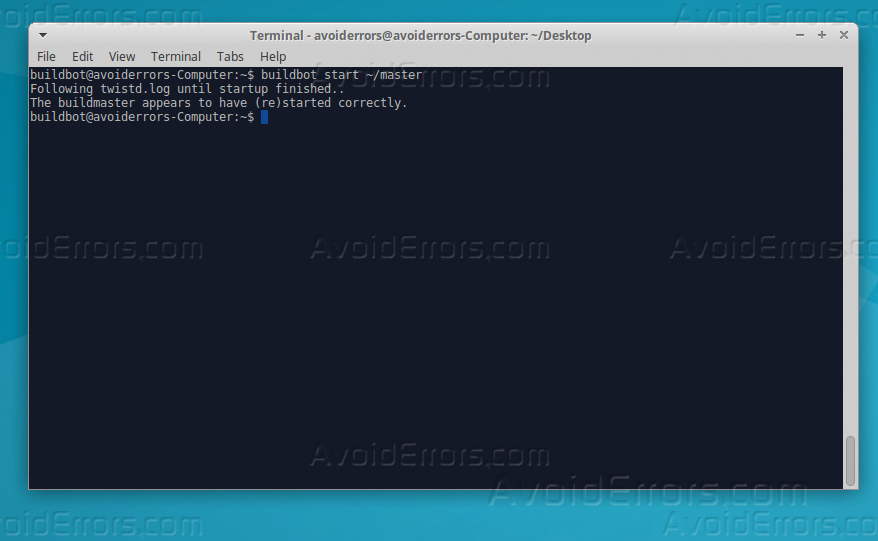
5. When you are done from adding your IP address, run the master by the below command.
buildbot start ~/master
6. Now let’s open the Web browser to make sure that Buildbot is working normally.

Now Buildbot is working normally, and everything is normal to configure worker, and run a test build we will explain that step by step on another tutorial.


Hello,
Thanks for the tutorial.
“sudo -H pip install –upgrade pip” should be corrected to “sudo -H pip install –upgrade pip” (double dash before upgrade).
Thank you Sam. it is double dash WordPress tends to convert it to a single dash.