How to Install and configure Certificate Authority on Windows Server 2016
Certificate Authority (CA) is responsible for attesting to the identity of users, computers, and organizations. The CA authenticates an entity and vouchers for that identity by issuing a digitally signed certificate. The CA can also manage, revoke, and renew certificates.
A certification authority can refer to following:
- An organization that vouches for the identity of an end user
- A server that is used by the organization to issue and manage certificates
- By installing the Certification Authority role service of Active Directory Certificate Services (AD CS), you can configure your Windows server to act as a CA.
With this tutorial, we will show how you can install “Certificate Authority” on Windows Server 2016 step by step.
Install “Certificate Authority”
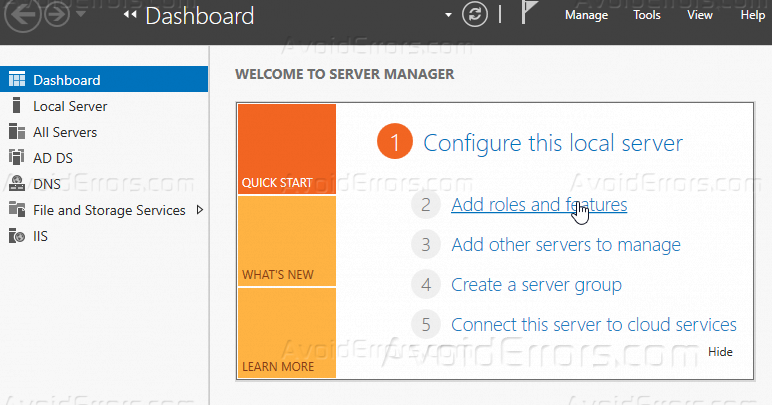
1. From “Server Manager” click “Add roles and features”.
2. Skip the first page of the installation wizard, and click “Next”.
3. Leave the selection as is on “Role-based or feature-based”.

4. Select your server.

5. Choose the first role to install “Active Directory Certificate Service“, once you click on it the wizard will prompt with the role features, click “Add Features” and then Next.

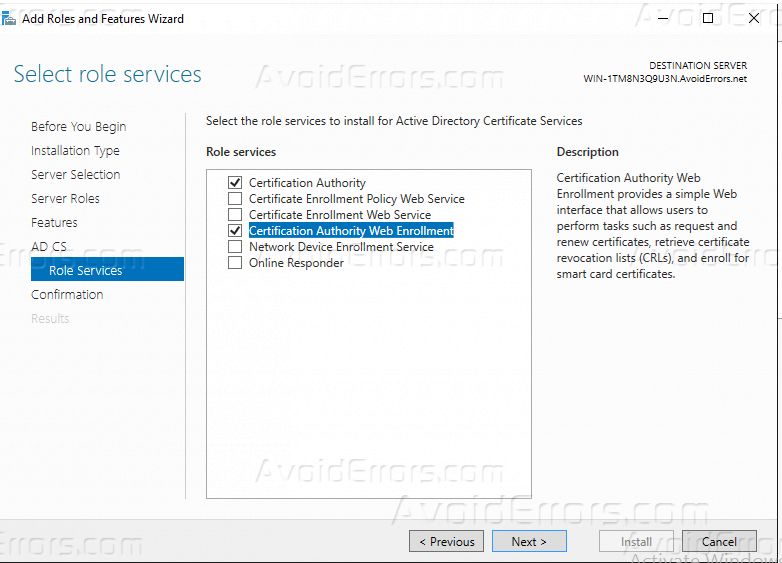
6. On “Role Services” page of the wizard, please make the selections just the like the below screenshot.
7. Then proceed to the installation progress by clicking Next then Install.

8. From “Server Manager“, click the yellow icon that it show on the below screenshot to start the configuration steps.

After you finish the first part of the tutorial and it’s about how to install the “Certificate Authority” role we move to the second part and it’s the configuration of the role.
Configure the Role
1. After opening the configuration wizard from the “Server Manager”, specify with administrator credentials and then click Next.

2. Re-select the role services that we need to configure, and click Next.

3. Choose “Enterprise CA” on this step of the configuration wizard.
Enterprise CAs Must be domain members and are typically online to issue certificates or certificate policies.

4. On this step choose “Root CA”.
Enterprise CAs Must be domain members and are typically online to issue certificates or certificate policies.

5. On this step select “Create new private key”.

6. on the wizard installation page “Cryptography for CA”, leave the default selections as it’s which RSA Cryptography with 2048 key length and verify that SHA1 is selected, and then click Next.

7. Give your certificate a name, and then click Next.
8.Choose the validity period of the certificate, for me I will select 3 years, and then click Next.

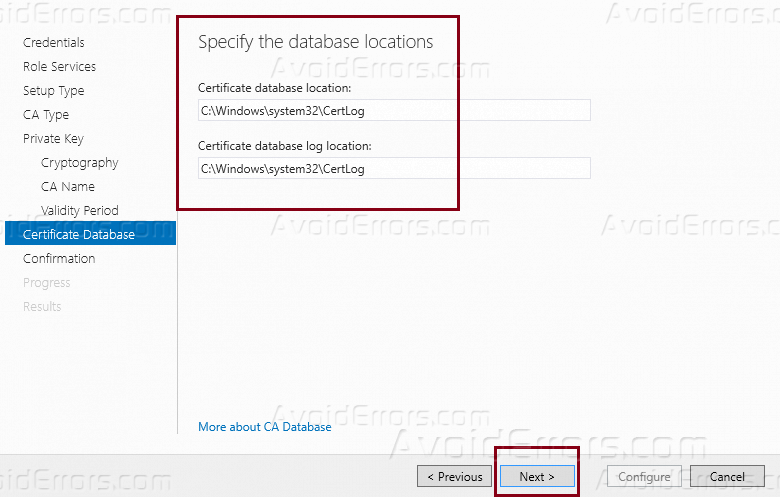
9. The installation wizard will show you the database location it’s recommended to NOT change it’s parth, just click Next.
10. Then the wizard will display the configuration info, click “Configure”.

11. Finally, our CA & CA Web Enrollment successfully installed.


