Install and Configure GitLab Ubuntu 16.04
GitLab is a web-based Git repository manager with wiki and issue tracking features, using an open source license, developed by GitLab Inc.
The software was written by Dmitriy Zaporozhets and Valery Sizov from Ukraine. The code is written in Ruby. Later, some parts have been rewritten in Go.
With this tutorial, you are going to learn how to install and configure “Gitlab” step by step.
Install GitLab
1. Update your Linux system packages by the below command.
sudo apt-get update

2. Then you will have to install “Postfix” first by the below command.
sudo apt-get install ca-certificates curl openssh-server postfix

Type “Y” and press Enter to continue.
2. On the configuration output of “Postfix”, select “Internet Site”.

3. On this step, write your system mail name.

4. We have to download “GitLab” script and configure the system with the new repository of “Gitlab”, by the below 2 commands.
cd /tmp
curl -LO https://packages.gitlab.com/install/repositories/gitlab/gitlab-ce/script.deb.sh

5. Now let’s run the downloaded script by the below command.
sudo bash /tmp/script.deb.sh

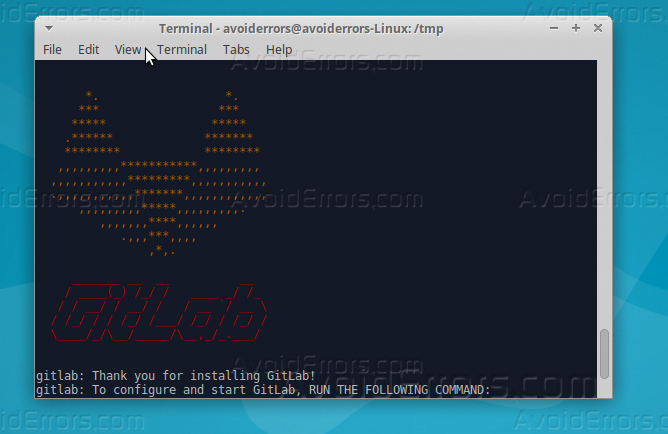
6. You can now install “GitLab” application, by the below command.
sudo apt-get install gitlab-ce

7. The installation is complete now, let’s move to “Configuration Part”.
Configure GitLab
1. Before we can use Gitlab we have to configure it, to start the configuration run the below command.
sudo gitlab-ctl reconfigure


2. View the current status of your firewall to make sure that “HTTP” and “OpenSSH” isn’t blocked.
sudo ufw status

3. As we saw the rules of the mentioned “2 Ports” above isn’t active, we can add it by the below command.
sudo ufw allow http
sudo ufw allow OpenSSH

4. Open your web browser and enter your domain name or IP address to access Gitlab, and create your new password for it and click “Change your password”.

5. To sign in, use the username: root, and the password you had created.


Summary
You should now have learned how you can get a working GitLab hosted on your own Linux server, You can simply start to import or create new projects and configure the appropriate level of access for your team.


