How to Install and Configure VMware ESXi 6.0
This article will show you how to install and configure the VMware vSphere Hypervisor 6.0 AKA (ESXi 6.0) on a server. You would need to decide whether you want to install ESXi from a disc or USB. I would personally recommend using USB for faster installation.
Note: The ESXi server you’ll be using must meet the VMware Compatable Lists (HCL).
1. Register and Download free VMware vSphere Hypervisor 6.0
2. Then create an installation USB or Disc.
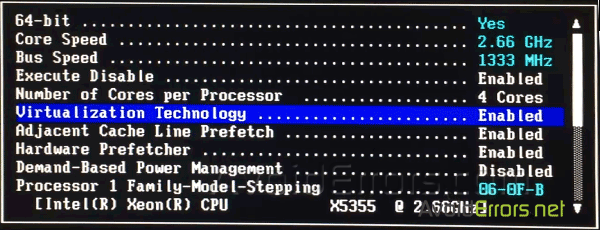
3. Enable virtualization in the BIOS. Even though your server is fully compatible you would need to enable virtualization in the BIOS.
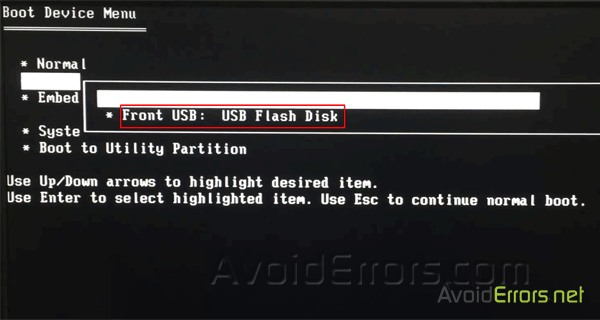
4. Set the BIOS to boot from the installation media. (USB or Disc)
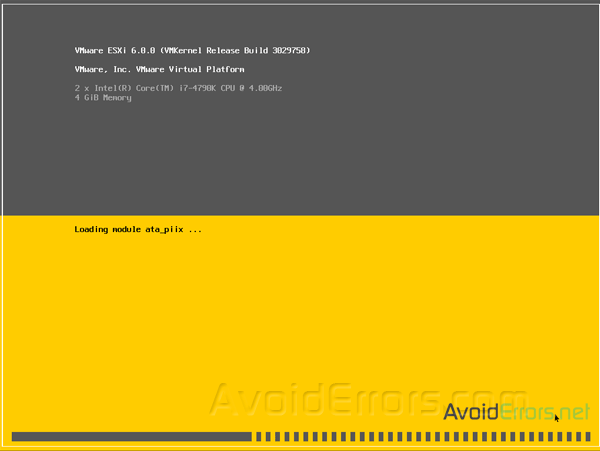
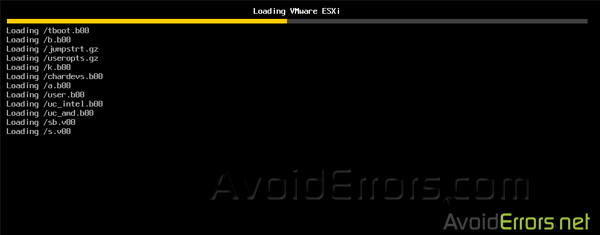
5. Reboot the server, it’ll boot from the installation media, and the following screen will be displayed:

6. The default selected boot option is ESXi-6.0-standard Installer, press Enter to continue the installation or wait 10 seconds.
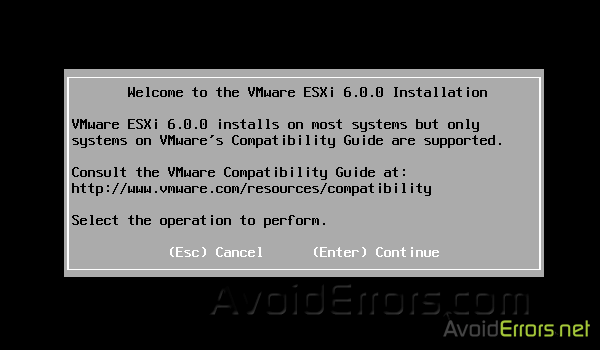
7. Again press Enter to continue the installation
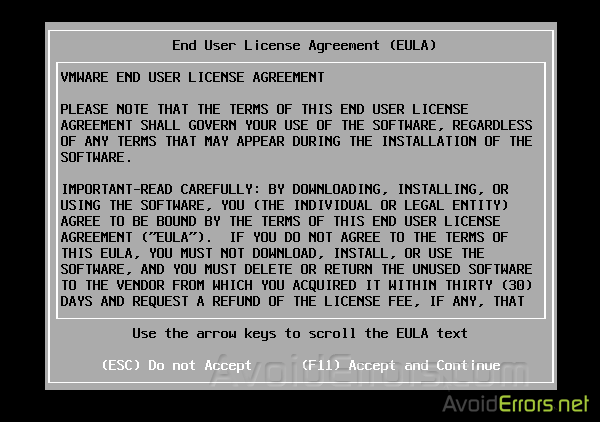
8. Press F11 to accept the VMware End User License Agreement (EULA)
9. The ESXi installer will scan the server storage controller for available devices to install ESXi.

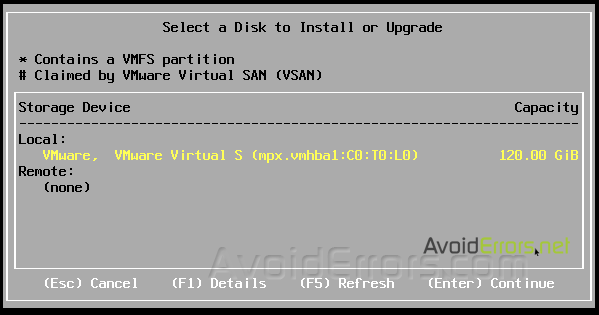
10. When prompted select a disk to install ESXi on, in the example underneath, I have one disk connected to this server, a single 120 GB disk. I am going to use this disk for the OS and storage.
Note: In case you don’t wish to install ESXi on the main volume that is probably going to be used as your main storage, EXSi can also be installed on a partition or the same USB you are using to install EXSi.
11. When prompted, select the keyboard layout and press Enter to continue.

12. Then enter and confirm a root password, press Enter to continue

13. The Scanning system will be displayed…

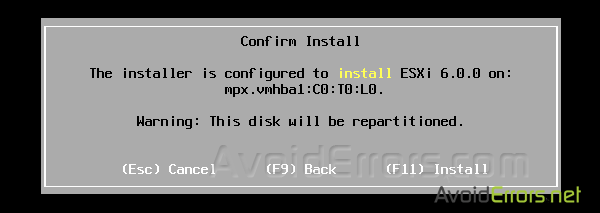
14. When prompted confirm the installation on the selected disk and press F11 to install
Note: The disk will be partitioned, all data will be deleted.
15. The progress bar will confirm installation progress.


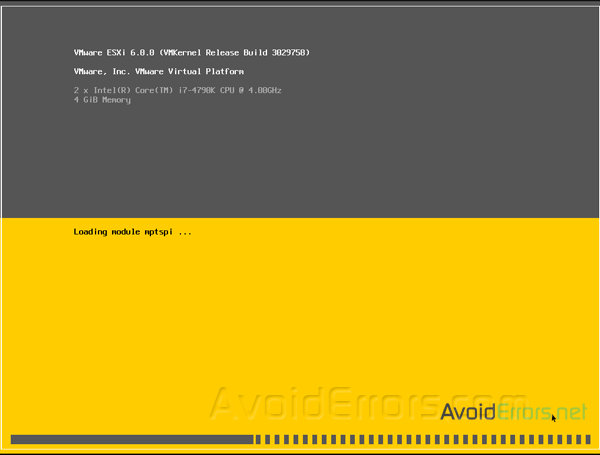
16. The installation process will take about 5-10 minutes to complete, depending on the speed of the server. When the installation has completed the following screen will be displayed:

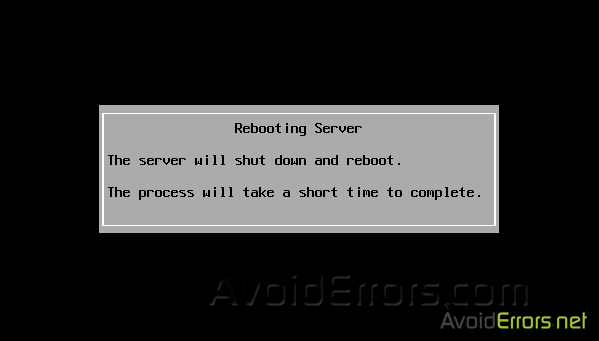
17. Remove the media installation before rebooting. Press Enter to reboot.
18. The following screen is displayed when VMware ESXi 6.0 first boots
19. Once the server has fully booted it’ll display the following screen:
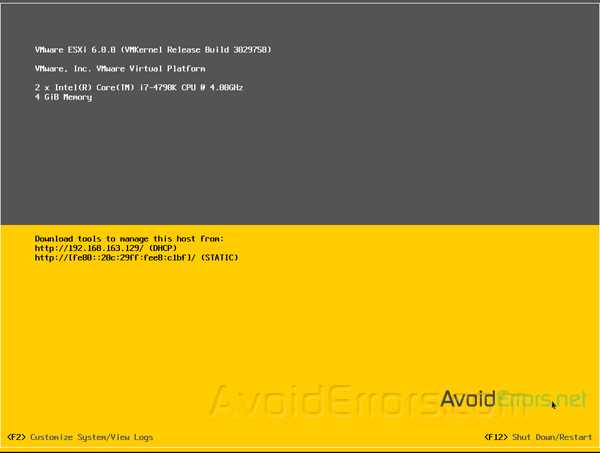
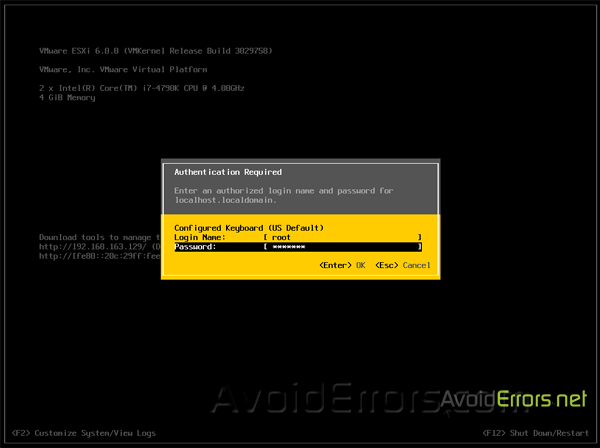
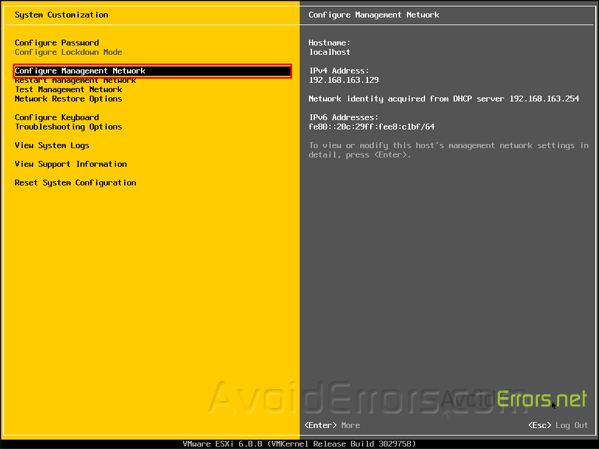
20. DHCP is the default server configuration, I recommend you use a static IP Address for your ESXi Host Server. Press F2 to Customize System, you will be prompted to enter the root username and password.
21. Select Configure Management Network to change Network Parameters.
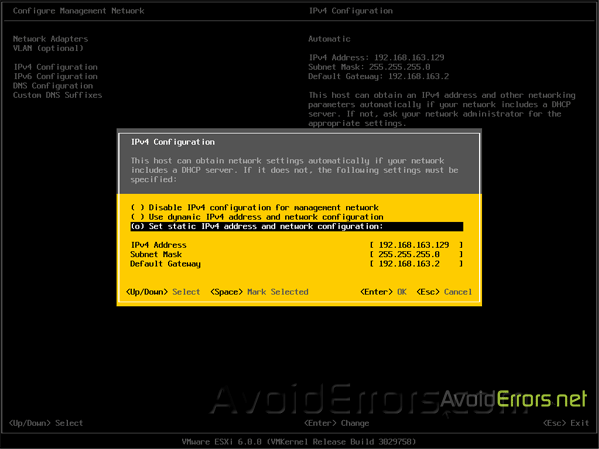
22. Then select IPv4 Configuration.

23. Set a Static IPv4 address and network configuration, subnet mask and gateway. Press Enter to confirm and save the configuration.
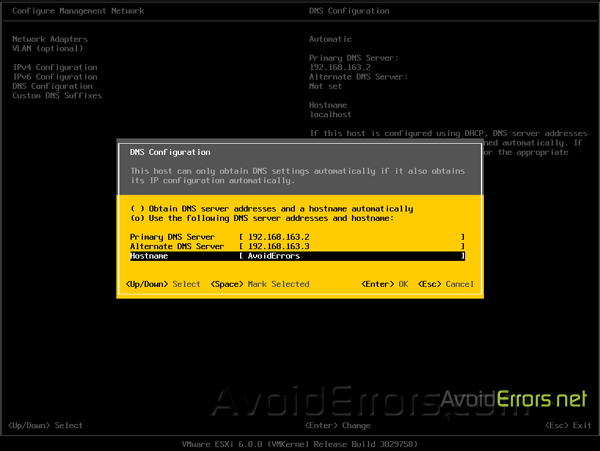
24. Finally select DNS Configuration, enter your network DNS information of your network, and enter a hostname for your server. Press Enter to save the configuration.
Done!! you have successfully installed and configured VMware vSphere Hypervisor 6.0.
Video Tutorial:


