How to Install and use Dropbox on Mac OS X Sierra
Let’s first to give a little brief about Dropbox, it is a file hosting service operated by American company “Dropbox”.this application creates a special folder on your computer, and the contents of this folder are synchronized to Dropbox’s servers and to other computers and devices that you had installed Dropbox on it.
With this tutorial, I am going to guide you to how you can install and use Drop box on your Mac OS X Sierra step by step.
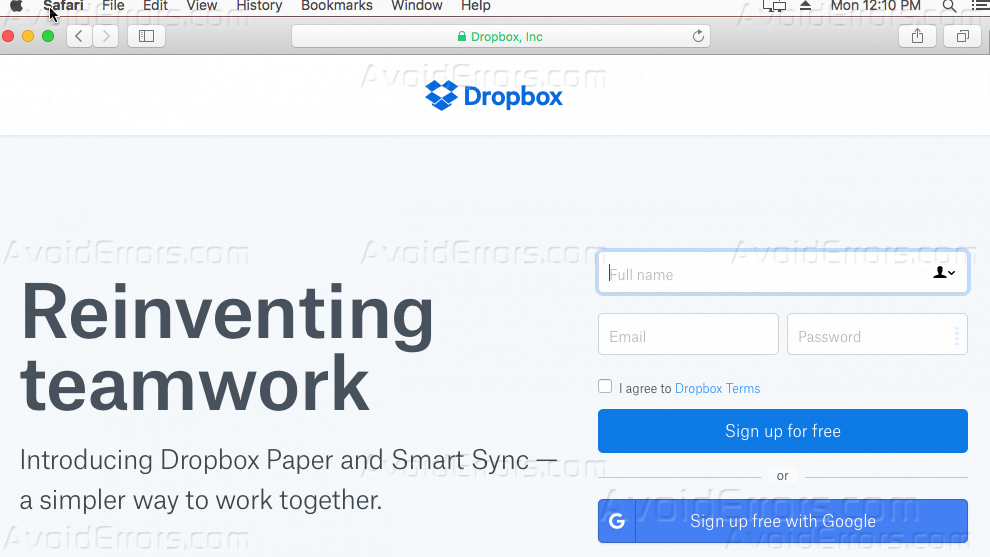
1. Open your web browser and open the official web site of Drop Box or you can search google for it.
2. Scroll down to download the desktop application or you can simply click HERE to download it.
3. After you download Dropbox click on the download DMG file to start the installation process.

4. Double click the drop box icon to install.

5. On this warning message click on “Open”.

6. After that, the download and installing process will start.

7. You can sign with your email or you can sign up for a new one from HERE.

8. Once you sign in, a welcome window will appear, click “Get Started” to proceed.

9. When you try to run Dropbox from the application folder, it will pop up that it needs access, click on “Give Access to Dropbox” and make sure to check “Don’t show this to me again”.

10. Now all the files that you will add to the Drop box folder will start to synchronize with the server and if you login in Drop box folder from anywhere anytime you will be able to access your files.

Summary
After this guide, you should be able to know how you can download and install Drop box, and how you can give it the access to synchronize your files between your computer and your drop box account.


