How to Install Squid Caching Proxy 3 on Windows
What is Squid: A caching proxy for the Web. It reduces bandwidth and improves loading times by caching when accessing frequently-visited web pages. read more…
I will explain how to easily install Squid Server 3.5.4 on 64 bit version of Microsoft Windows operating systems. The installer is an open source project hosted on GitHub.
This process is divided into two sections.
- Installing the Squid caching proxy on to a 64 bit Windows OS.
- Setting up the client.
Installing Squid proxy
Download the MSI. Currently only 64 bit version is provided.

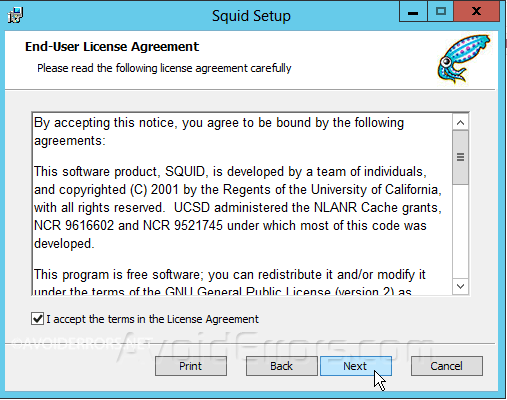
Once downloaded run the squid.msi. You would need administrator rights to install it on your computer.

Accept the terms, an click next.
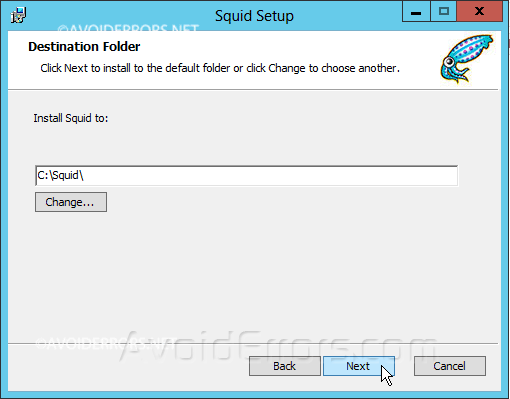
You can change the install location but is not recommended.

You’ll see 2 new icons on your desktop once the installation process is finished.

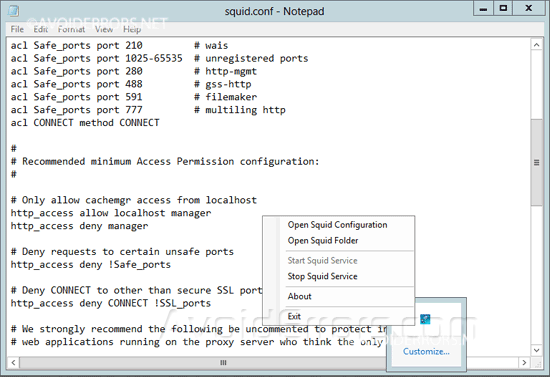
You should also see a squid application in the system tray.

This application allows you to modify the squid configuration.
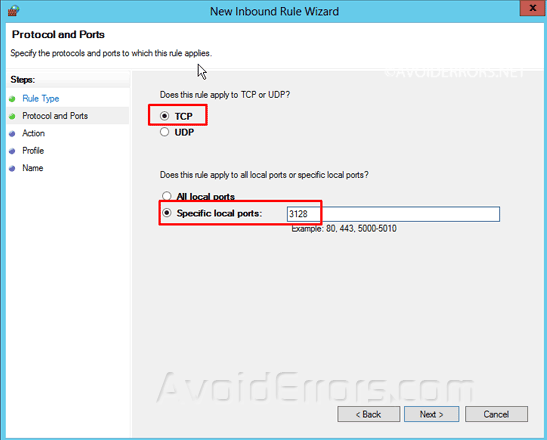
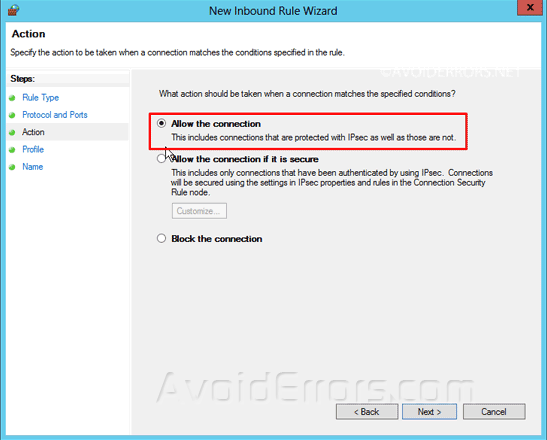
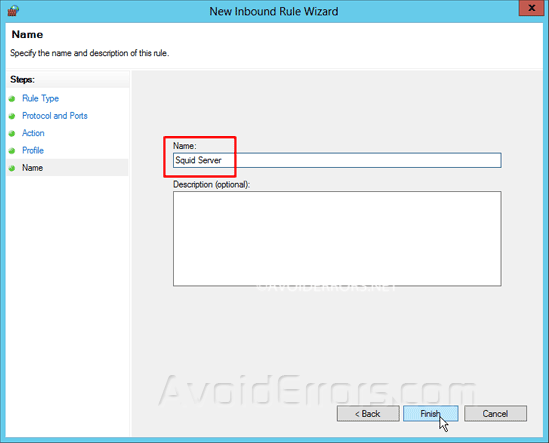
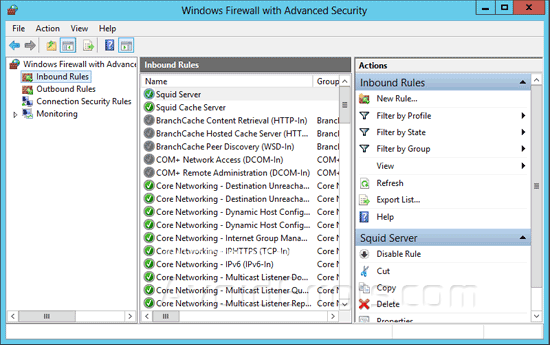
Note: If during installation the MSI installer did not opened TCP port 3128 required to connect to your Squid caching proxy server from a client machine in your network, Then follow these steps to open required TCP port.
Type “Windows Firewall” in the Start Search on Windows 7 or 8 64 and press Enter.

Click “Inbound Rules” and then “New Rule”
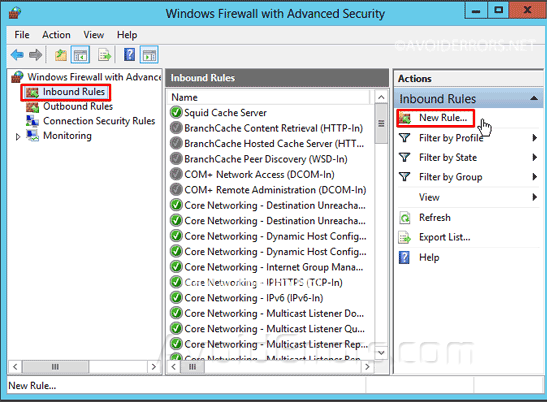
You would need to create an inbound rule to allow clients connect to through the 3128 TCP port, the default port where squid caching proxy is running


The server side configuration is over. Now let’s configure the client side. For that you have to specify the proxy in Internet Explorer
Note: If you are using a browser other than Internet Explore don’t worry they will inherit the settings specified in IE.
Setting up the client
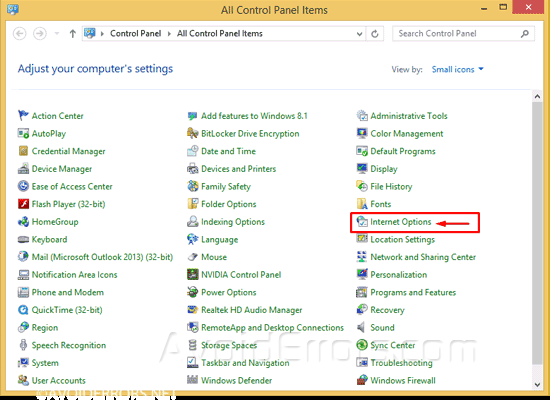
Go to Control Panel -> Internet Options.
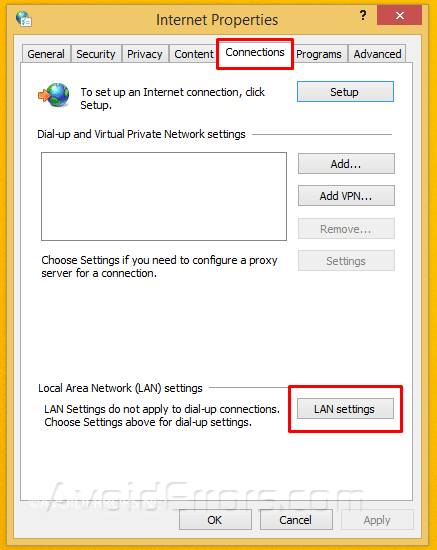
Connections Tab, and then LAN settings.
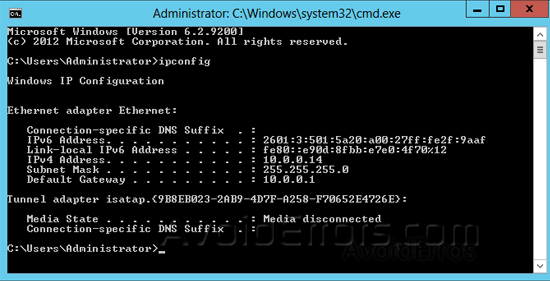
In my lab the IP address of my Squid caching proxy server is 10.0.0.14 and the default port for squid is 3128.
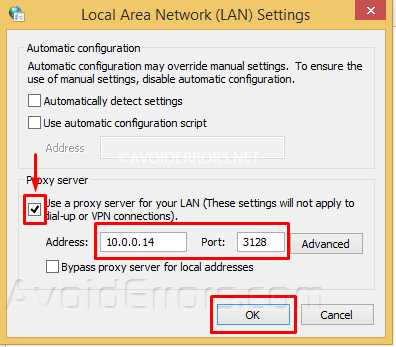
You can locate this address by pressing the Windows key +R on the keyboard, enter the word cmd in the run box and press enter.
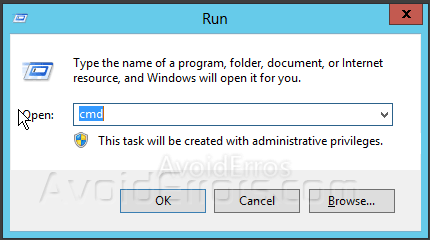
Then enter ipconfig to reveal the IP of the computer where Squid caching proxy is installed.