How to Rename the Network Connection in Windows 10
To change the network name in Windows 10 is alot harder than previous versions of Windows. Say for example to rename the network connection in Windows 7 all you needed to do is go to the Network and Sharing center and click your connection to change the name.
The process of changing the network name in Windows 10 is a lot different, but you still can change the name, here is how:

To change the network name in Windows 10 I will be using the the Local Security Policy.
You can also do this using the Registry editor. I try to keep away from the registry editor unless I absolutely have to.
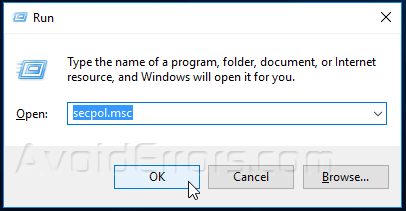
1. Press Windows Key + R, to open the Run dialog, here type secpol.msc and hit Enter.
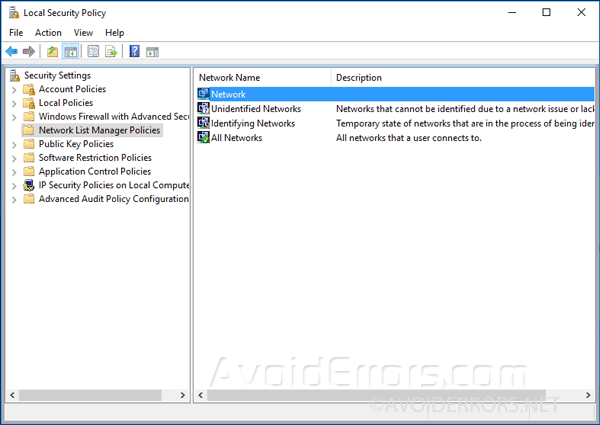
2. In Local Security Policy window, on the left pane navigate to Network List Manager Policies.
3. On the right double click the network you want to re-name. Usually (Network).
4. In the Network Properties window select Network Name tab, under the Name section check-mark Name.
5. Now immediately underneath in the input field enter the name you want to use for your network connection.

6. Save changes by clicking on apply then OK.
7. You might have to reboot your computer to apply changes. We are done renaming the Network Connection in Windows 10.


