How to Restore HP Pavilion dv6 to Factory Defaults
This tutorial will guide you on how to do a system restore on your HP Pavilion dv6 computer. Before starting the restore process, make sure you backup your files and documents. Please be patient this process may last 1 to 2 hours to complete, the process may seem like it’s paused or stopped. Do not restart or shutdown during the process!
1. Restart the Computer.
2. While the computer is booting up Tap Esc Key repeatedly on the keyboard until the recovery menu appears. This will start HP’s PC System Recovery.

3. You must tap on Esc button before the Windows Logo appears on the screen. If the Windows logo appears then restart the process.
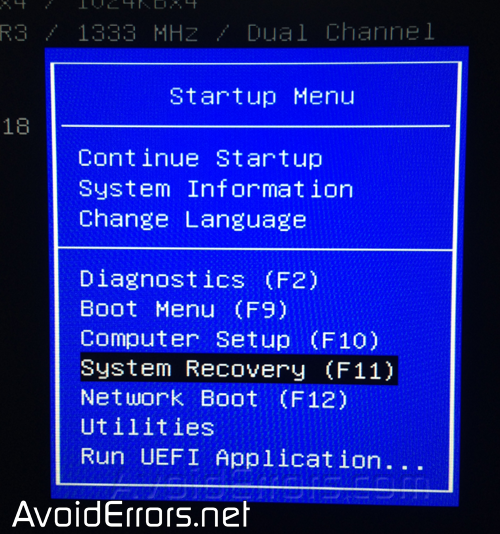
4. Here select System Recovery (F11)
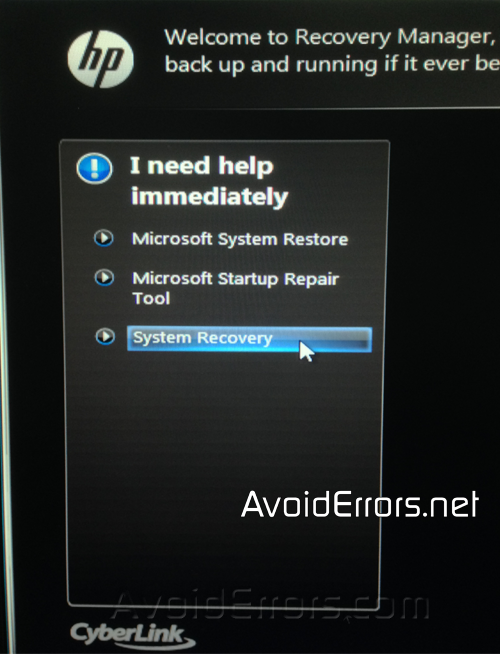
5. From the Recovery Manager select System Recovery.
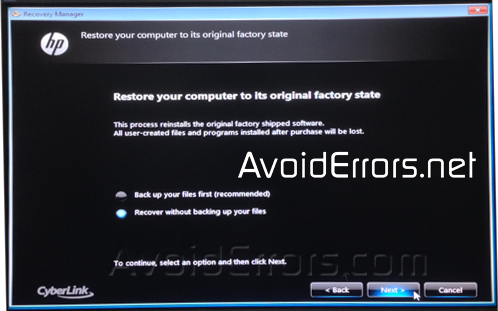
6. Because I created a back up previously, I’ll Recover without backing up files. If you didn’t create a back up prior to this then i suggest to back up your files first and click on next.

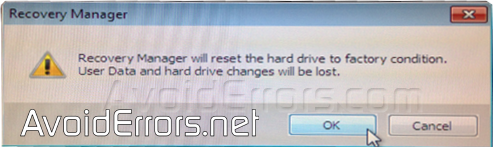
7. A Recovery Manager pop up will come up telling you that the Hard Drive will reset to factory condition. Click OK.
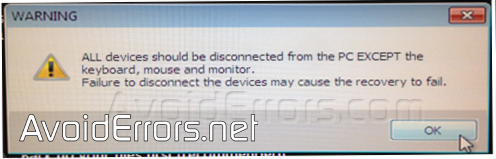
8. Another Pop up warning reminding you to disconnect all peripherals, except the mouse, keyboard, and monitor. click OK.
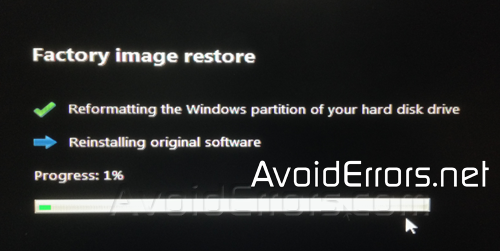
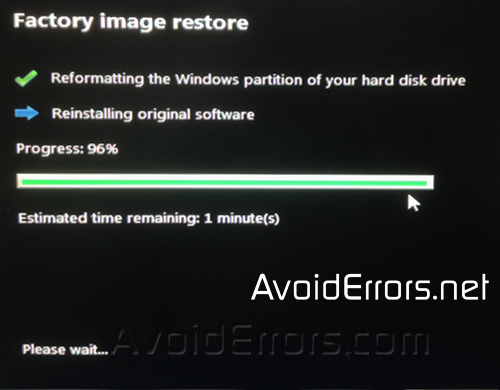
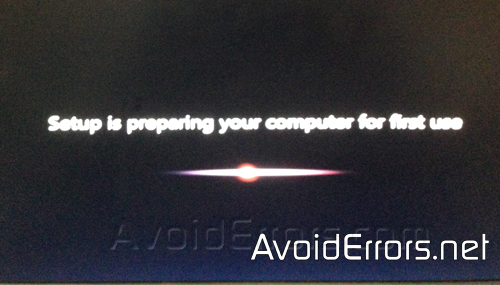
9. Now the System restore will begin.
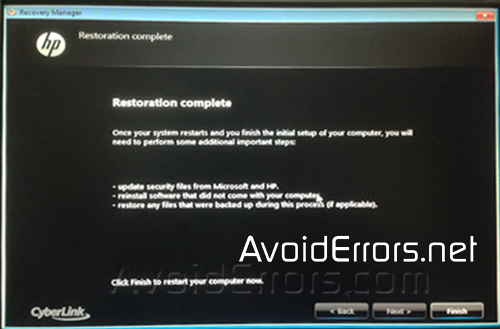
10. Once the restoration is complete, click on finish.
11. The system will restart several times, make sure not to click on any keys while restarting, just let the system run.
12. That is it!! From here on it will ask you for basic information like Enter your Username and password, time zone, etc.
If you have any questions feel free to post them in the comment section below.


what if I upgraded to windows 10 at some point can I still use this technique?
Yes
This worked great!
Thank u!