How to Turn Your Raspberry Pi 3 Into a Retro Console
This tutorial will guide you from start to finish on how to set up your Raspberry Pi 3. This is a beginners tutorial, and is for those who want an easy step by step guide to setting up RetroPie on their Raspberry Pi 3.
For this tutorial I am using CanaKit Raspberry Pi 3 Complete Starter Kit – 32 GB Edition. This Kit does not require any additional items to turn this into a Retropie.
I am also using the 8bitdo SFC30 Wireless Bluetooth. This controller is optional unless you have no compatible controllers to be used with the retropie.
Video Tutorial:
Turn Your Raspberry Pi 3 Into a Retro Console
1. Insert the SD card into the USB and plug into the computer. Make sure is detected by the computer.
2. Download and extract the RetroPie Software zip folder. This folder contains all necessary programs to fully turn the Rasberry pi into a Retropie without going from website to websites to download the programs.
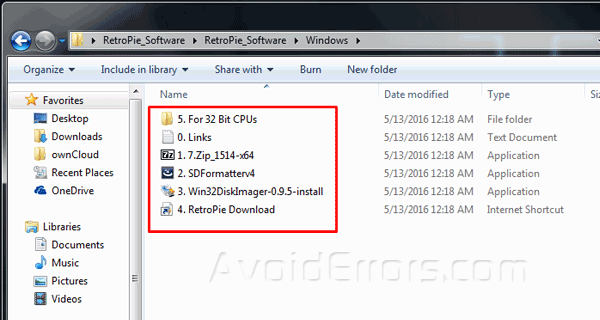
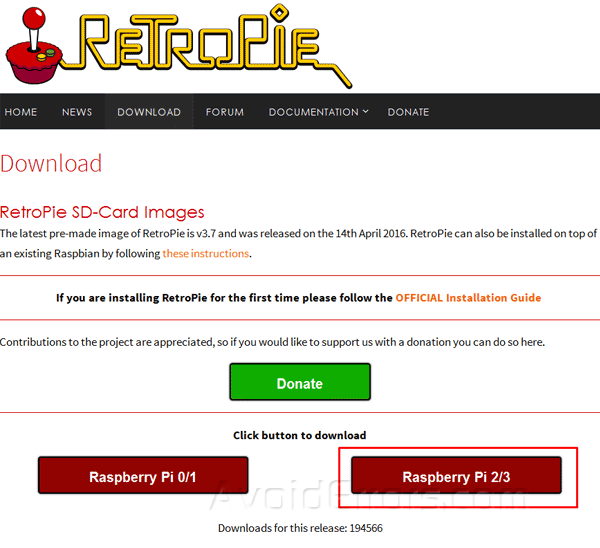
3. Once extracted install the programs in order, they are numbered for easy installation. Once you get to the fourth step you’ll be re-directed to the Retropie website to download the retropie image.
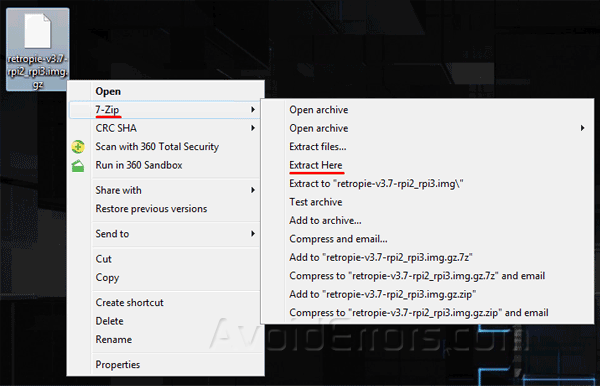
3. The Retropie image can take a while to download, once downloaded extract it using 7 zip.
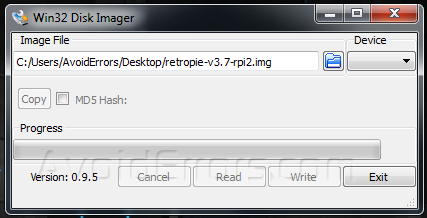
4. Then run the Win 32 Disk imager to select and write the image to the SD card.
5. Once done properly eject the SD card from the computer and insert it to the Rasberry pi.
6. Now plug the Rasberry pi to TV power it on and that is it, your retropie is ready to use.


